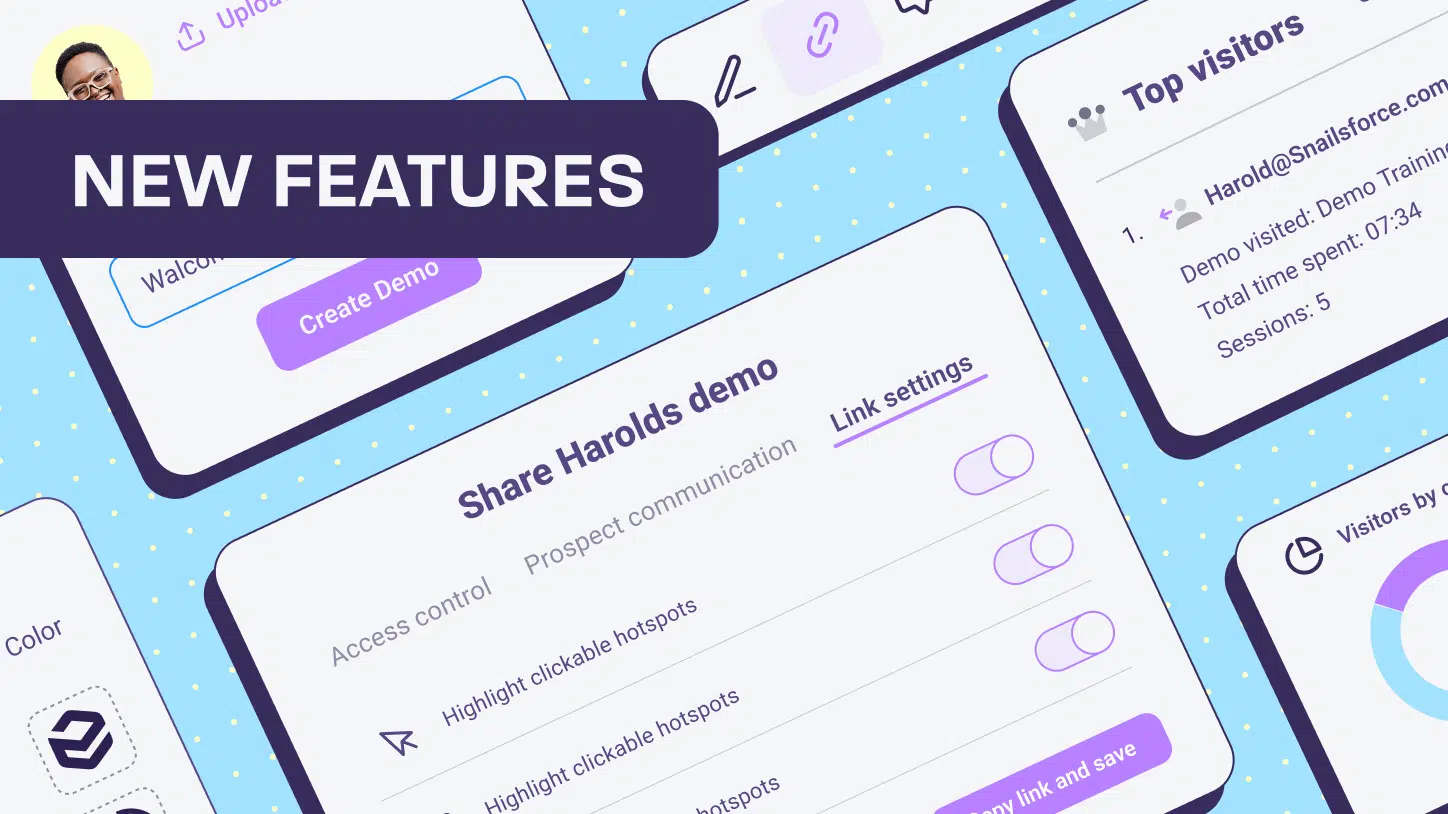
Another round of new features? Do you guys have time to sleep at Walnut?
The short answer is yes. The long answer is, like a wise man said, we don’t sleep for long but we sleep fast. The even longer answer is that we are working hard to provide you with the best tools to create perfect sales experiences – starting with your interactive product demos.
With no further ado, let’s go over the new features we cooked up just for you:
Scale your demo creation with custom templates
We just released a feature that will skyrocket your demos’ scalability. How? Glad you asked.
You already know that you can duplicate your demos with Walnut and use them as many times as you want. But for big teams, it might be a bit messy to have a lot of people working on the same projects. Too many cooks in the kitchen.
That’s why we just released a feature that allows you to create nested demos inside a storyline. In human words, it means that once you’ve created your main demo (or storyline), you can generate new demos based on it, without duplicating or affecting your main demo in any way.
It’s like creating a PowerPoint template that you can share with your team so they can use it (safely) for their needs.
This feature allows you to scale your demo creation without limits, organize the hierarchy of your demos more efficiently, and gives you better control over what’s happening to them. The cherry on top? You’ll be able to collect more granular insights about the performance of each of your demos.

Guide your prospect the exact way you want
We know you guys love our annotations feature (aka Guides.) We also understand the more custom your annotations are, the more accurate your demos will be, both in terms of user experience, and visual language. So we came up with three upgrades for your annotations you’ll appreciate.
- Dim the surroundings of your annotations: This is a great tool to make sure your prospect focuses on the exact feature(s) you want them to try. Selecting the “Dim surroundings” options allows you to make the screen around your annotation darker to make sure it stands out.

- Set the position of your annotations: Correct. You always had the option to decide next to what element you’d like your annotation to appear. But starting today, you can play around with your annotation even more easily: Would you prefer it on top, above, or on the side of your element? After all, when it comes to guiding your prospects through your product— you know best.

- Change the glow colors of your annotations: It’s as simple as it sounds. Choose the color that fits your product visual style and go for it.

Oh, and one more thing! Since we’re talking about new stuff, did you watch our brand new ad? We’d love to hear your opinion!
Create customized and interactive demos that your prospect will enjoy – without coding>
Read more on interactive product demos:


