Offer unique training and onboarding experiences to customers with Walnut. Show them everything they need to know about your product through onboarding demos and tailor them to give a personal touch.
Why onboard customers with interactive demos?
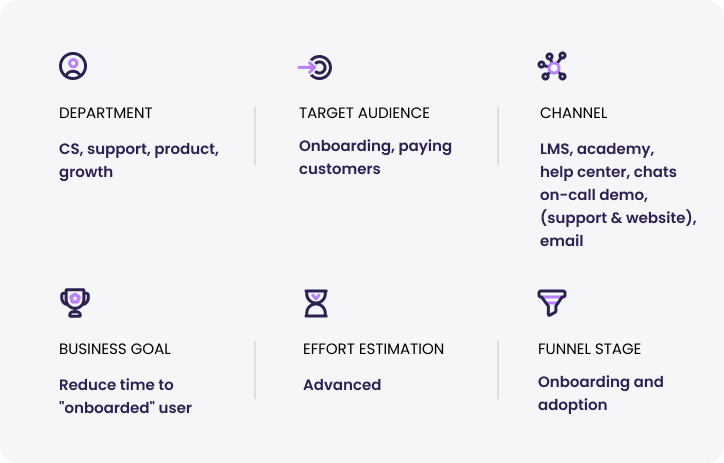
No customer wants to learn about a new product just with articles. They want to sit and play with the product so they can really get a feel for it and understand how to use it.
So, with interactive demos, you can reduce the time it takes to onboard customers and provide them with demos so customers can learn about your product whenever it suits them and support strong product adoption.
How it benefits your team:
Increase customer retention by understanding their usage and pain points. Discover where users click throughout the demo and find where they’re dropping off, allowing you to give an easy transition to full-fledged product users by guiding them through your product.
How it benefits your customers:
Your customers will get to fully experience your product from the get-go. Let customers see how the product works, instead of just learning through articles, and allow them to complete their onboarding on their own time.
How to onboard customers with Walnut interactive demos
Here’s what you’ll need to begin:
- Embed your demo that shows new customers how best to use your product.
- Track the results by heading to the Insights page, and checking where customers are struggling.
Best practices for onboarding customers with interactive demos
1. Use guides. Choose a guided path over a non-guided path so you can walk your customers through specific areas of your product. Provide them with information that first-time users will find useful such as features and how-to’s.
2. Keep it simple. Inform new customers without going into too much detail. Using a new product can be overwhelming, and providing too much information can cause new users to panic. Keep the demos simple and ease your customers in.
3. Pick the right guide for your needs. Determine whether it makes more sense for your demo to include a guide that explains things with words or voice recordings, or whether you just want to include a “hotspot” guide that simply indicates to visitors where they should click next.
4. Add context. Use a “modal” guide type to add a welcome message as the first step and quickly explain the value the user can expect to gain from the interactive demo.
5. Include a clear call-to-action. Allow users to read more about specific features by guiding them to your academy and knowledge base directly from the demo. Either add a floating button or add a CTA at the end of your demo to allow them to easily learn more if they wish.
6. Set the screen’s display view. Before publishing your demo, set its screen display as “fixed” in the template’s settings so that your demo will look best for your viewers regardless of the size of the iframe it’s embedded in.
Publishing and embedding your product tour
- Once you finish creating and editing your product demo template, publish the demo, grab the HTML embed code, and simply add it to your onboarding article.
- In the share panel, you can also choose to add an email collector screen that will appear on the first screen of your demo.
Tracking your interactive demo’s success
- Once your demo is live on the site, track your demo on our Insights page to see who viewed it, for how long, and which parts they found most interesting.

