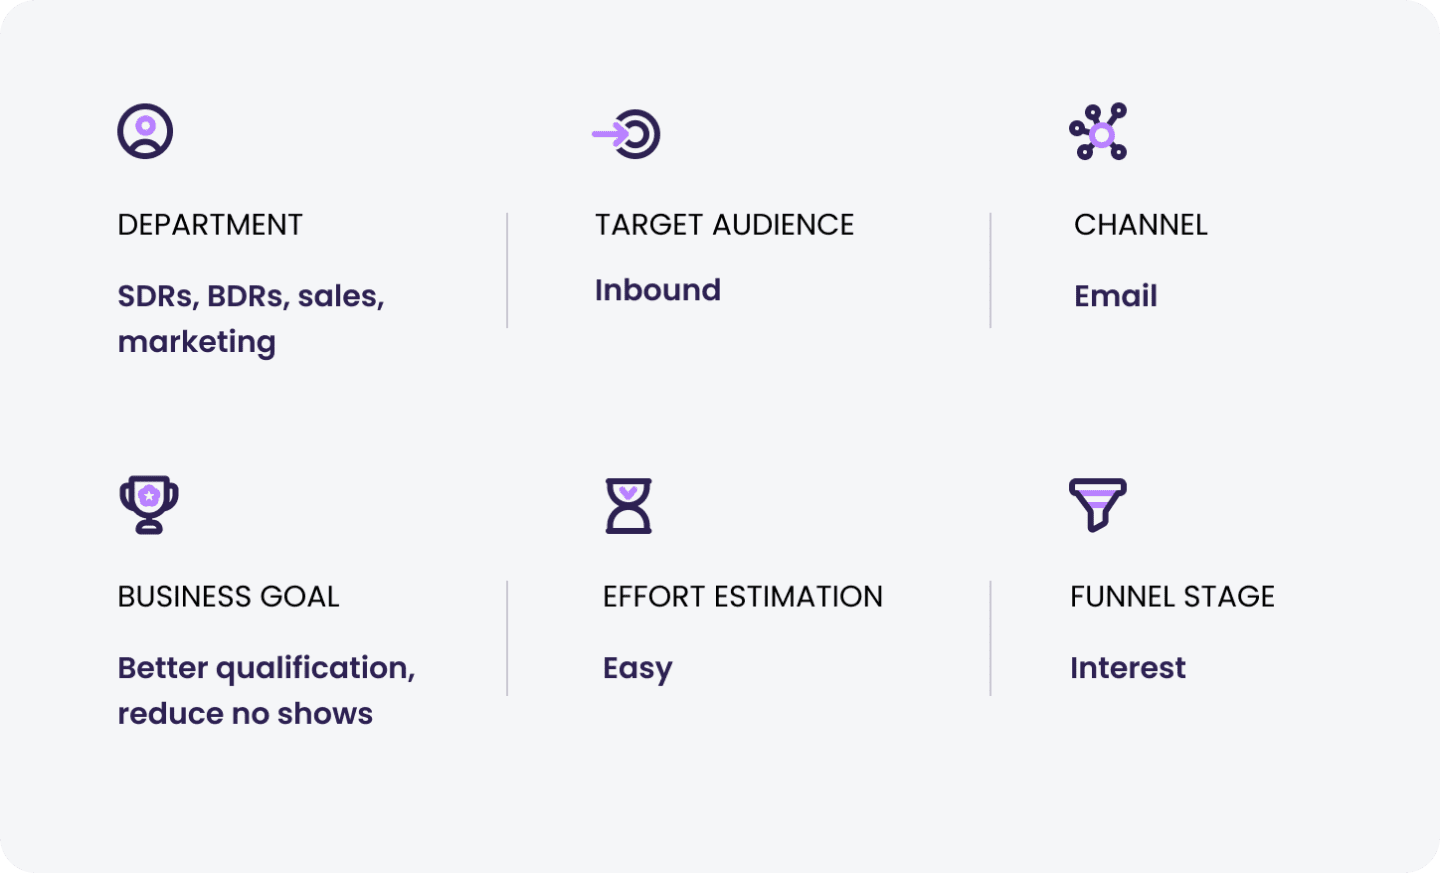
Simplify your qualification process and gain insights into your prospect’s intent by tracking how they use your interactive demos.
Why use interactive demos for lead qualification?
One of the key benefits of interactive demos is that they give prospects the ability to see your product from the outset. But when you embed a demo directly on your website or share it with prospects via email or link, it can also have a positive effect on your lead qualification.
When prospects can see your product from the get-go, they will already have an understanding of what your product can do before you meet with them. On top of this, you can track which parts of your demo were most interesting for prospects and what was less relevant. This information can be used to understand what to focus on during future calls with the prospects.
How it solves your buyers’ pains:
Your prospects can quickly try your product for themselves and understand the value it offers.
How it solves your team’s pains:
Your sales team can qualify leads faster, which in turn will shorten the sales process.
How to use interactive demos for lead qualification with Walnut
Creating the product demo
- Whenever you create a new demo, start off by determining the intended goals. In this case, it would be to create a demo that can be used for lead qualification.
- Determine the story you’d like to tell. Remember to keep the length of the demo to around 2-3 minutes. It should be a generic overview of your product as preparation for the call. Skip generic areas like sign-up, inviting people, etc. We recommend capturing no more than 5-6 screens.
- Focus on 2-3 “aha!” moments that are connected to the buyer’s industry, job title, or use case, and show how your product solves their unique pains.
- Leverage guides to conduct initial discovery. You can use multiple guides, with 5-6 steps in each. Each guide can focus on a different section of your product. That way, you’ll be able to show the richness of your product, while seeing what buyers find most interesting.
- Incorporate 2-3 qualification questions in the guide or through the Comments feature as part of the flow.
- Set context. Add a welcome “modal” guide type that includes your avatar, name, and context for what this demo is about. We recommend building a narrative that is less focused on “how to” and more on the main values that you can achieve using the product.
Sharing the demo
- Grab the relevant template, create a new demo, and connect it to the lead or contact in the CRM for better tracking. Make sure you create a unique link for your prospect.
- Give your prospects a voice. Enable the Comments feature and encourage prospects to let you know what they found interesting in the product demo to continue the conversation.
- Attach the demo to your email right when they book a meeting to eliminate disqualifiers and ensure you’re investing the energy in the right opportunities. You can even connect it to your thank you email through your scheduling tool.
- Give your prospects clear guidance on what you’d like them to do with the demo. You can ask a question, like: “What are 2-3 things you’d like to focus on during our live call?”
Track how prospects engage with the interactive demo
- Track your demo in our Insights section to see who viewed your demo, for how long, and which parts they spent the most time on and found most interesting.
- Track any comments that were left and resolve their questions.
Data points to track
- Activity log in Demo Insights
- Viewers in Demo Insights

